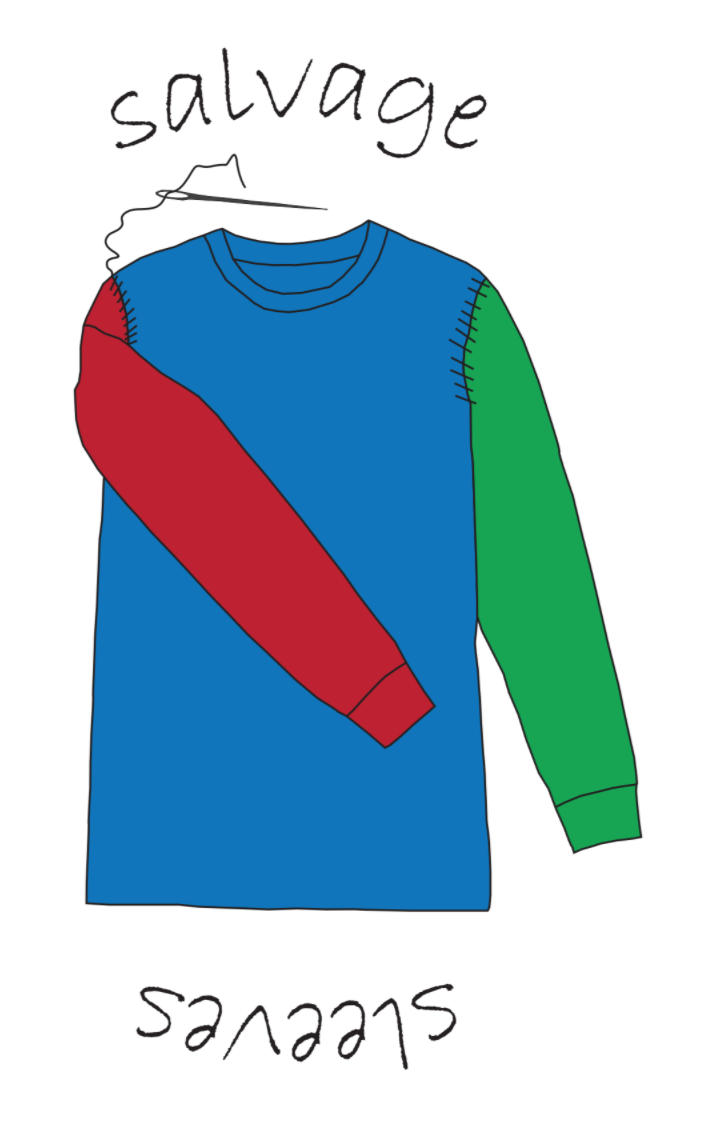
Salvage Sleeves by Dawson LearStep#1: Collect required materials
You will need: A shirt, sweatshirt, vest, etc. A pattern for a long sleeve shirt. Another article of clothing with an area wide enough for the sleeve template Thread Pins Step#2: Cut out the required pieces of your pattern This typically consists of a front, back, and cuff for a long sleeve. Cut on the line that indicates the size that you want. Step#3: Prepare the new sleeves Pin the front and back sleeve templates as well as the cuffs if applicable and pin them to your second article of clothing in whatever fashion you choose, making sure to follow the directions on your pattern, and cut the directed number of pieces. If your pattern did not come with instructions, you can easily look them up online. I used a McCall’s dress shirt pattern and made some modifications to the design. Step#4: Cut out the pieces of your second material Be careful not to stray from the edge and remember to cut out all of the markers on the pattern in the fabric, this will make it much easier to attach everything later on. Step#5: prepare the base clothing Remove the sleeves if they are not already off by ripping the threads at the seams. If they are, simply clean up the area of any scraggly fabric and loose threads. Step#6: Sew together the sleeves Make sure to sew right sides together following the seam allowance listed in the instructions of your pattern. There may be special procedures that your instructions have, so read them carefully and follow them so that your final product will turn out well. *NOTE: your pattern may require you to buy certain things such as interfacing or sewing notions such as buttons or clasps. Understand your design and materials before you make it. Step#7: Attach the sleeves to the torso This step often requires multiple complicated procedures that you will need to know how to do. Consult your instructions on how you should go about doing this, but make sure that you are sewing the right sides together, and that your sleeve is aligned properly, as there are no markings on the torso. Step#8: repeat for other sleeve and finish Clean up the threads and attach any remaining pieces to your shirt that may be needed. |
|


